Setting up MARTG fl-Fldigi
This Document will go through the step and procedures required to setup the DL-FIdigi, So that you will be able to decode telemetry data as well as pictures from the MARTG payload during Balloon flights or during any test transmissions.
Note: if you already have the standard dl-fldigi installed you will still be able to decode Telemetry Data from the MARTG payload but not the pictures, if you would like to down load Payload images please send an email to info@projectspaceballoon.net to get a copy. The custom version will allow you to decode BPSK1000 required for receiving images.
The standard DL-FIdigi does not have our mode so you will not be able to decode BPSK1000
Step 1
Install DL-FIdigi
Once you run fl-fldgi you will get this box pop up every time you start just hit close as you do not want to update it.

Step 2
You need to enter the following data as a minimum requirement for it to run.
Go to Configure and select Operator first option.
Enter the Following:

Step 3
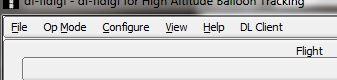
Important Note: turn off the DL Client as so not to upload data to the HAB until your are ready and decoding valid packets
You must make sure you turn the online function off until you’re ready to upload data to the HAB site. To This go to the main menu go to DL Client and uncheck the online box.

Step 4
You will need to tell DL-FIdigi what it is going to use as an input and you do this by going to the main menu and select Configure select sound card.

Here you must check the PortAudio on and then select your Capture Input. Most cases it will be you pc’s mic input unless you’re using a radio input which might be a USB.

Step 5
Tune your radio or scanner or SDR into 434.650 FM take the speaker output or if you have a discriminative out even better and plug this into the PC mic input. Set the record on the input to a min depending on your sound card as you don’t want to over drive the sound into DL-FIdigi or else it will not decode correctly. So Right click your speak on the bottom of you pc as shown below and select recording device and turn the levels down.


You will start to see your water fall either in blue or yellow or over driving it in red.
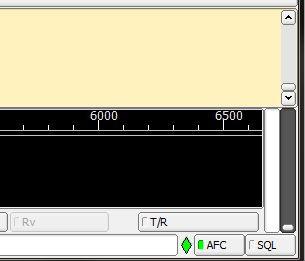
Also at this point click the RxID box which is in the top right hand corner and it should go green.

If your sound level is correct you should have a picture like below a green diamond and AFC should be green and the green bar moving up and down depending on signal if the diamond is black either over drive or not enough volume.
Step 6
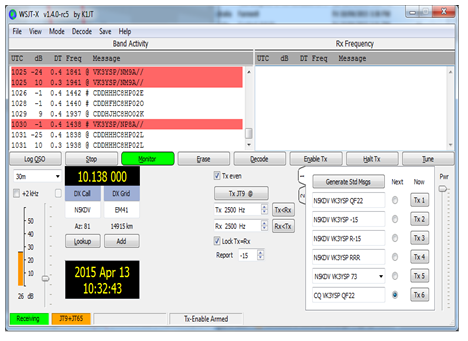
Frist we will set up BPSK63F so main menu under Op Mode come down to PSK and Select PSK63F

You should now see BPSK63F in the bottom left hand corner.

If you’ve setup DL-FIdigi correctly in the previous step, you should be able to use your mouse to position the 2 red bars in the waterfall directly over the signal bands. This tells DL-FIdigi which part of the audio spectrum it should try to decode from. Once you’ve positioned the bars in the right place, you should start to gets some text appearing in the incoming (yellowish) text field – though it may not yet be valid data. DL-FIdigi may take a few seconds to start decoding validdata
And this is what the data should look like, if all goes well and you decode a full packet of data you will get a green box meaning all data decode and received and this will then upload to the HAB site. At this point you should make sure you turn your online box back on as per step 3.

How to read the data string:
Name, Sequence No, Time, Longitude
$$MTG003 002 4:30:56 -37.7383
Latitude, Altitude, Ground Speed, Satellites,
+144.8602 0000 00 1
Temp Outside, Temp Inside, Battery Voltage, Checksum.
+44 +29 2.64 05D9
Step 7
Now we will setup the BPSK1000 what you do is minimize your current DL-FIdigi and start up another session so you will have two sessions of DL-FIdigi. To set up BPSK1000 go main menu under Op Mode come down to PSK and Select PSK1000

You should now see BPSK1000 in the bottom left hand corner and your water fall should look like the picture below so now double click in the middle of 1000 with your mouse.

And this is what the data should look like, if all goes well and you decode a full packet of data you will get a green box meaning all data decode and received and this will then upload to the HAB site. At this point you should make sure you turn your online box back on as per step 3. The data in the decoding box which is in the yellow area will mean nothing

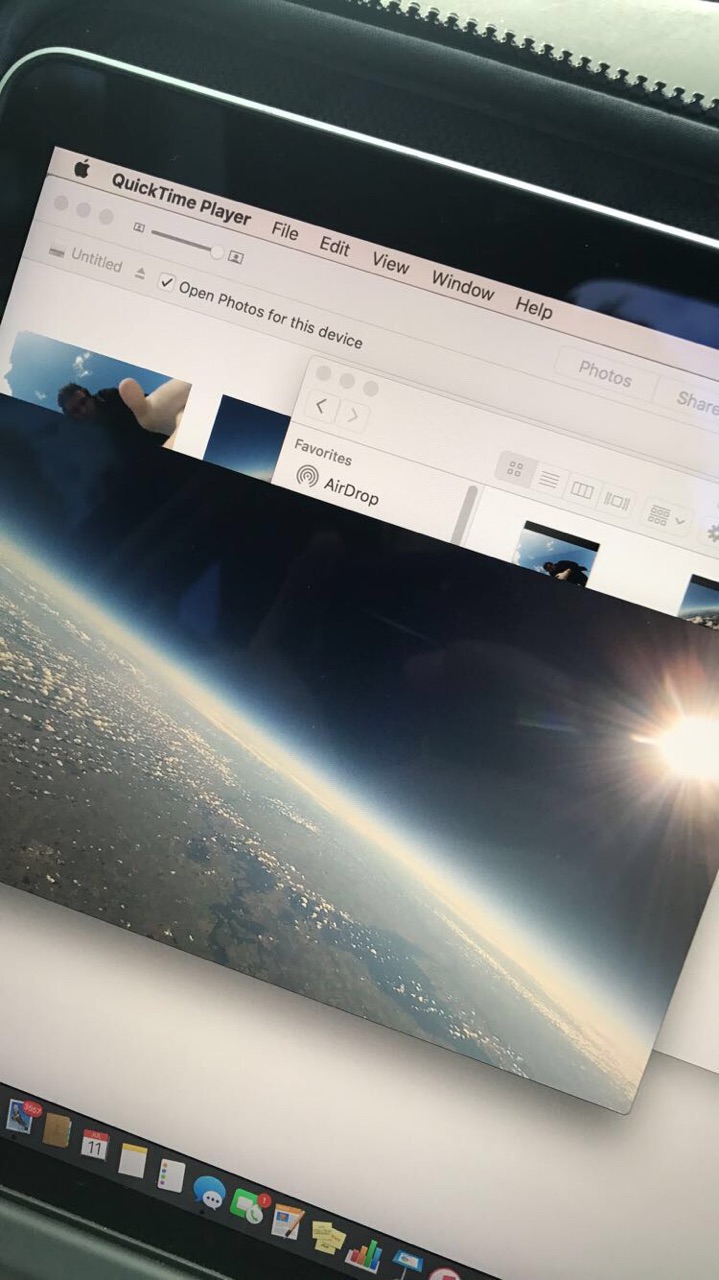
Now go back to main menu under View and select SSDR RX

It will pop up a box on your screen and you will start to see a picture that is been capture in the air.

So now you are decoding telemetry on BPSK63 and decoding data BPSK1000 so you can receive and see what the camera on-board the payload is capturing.
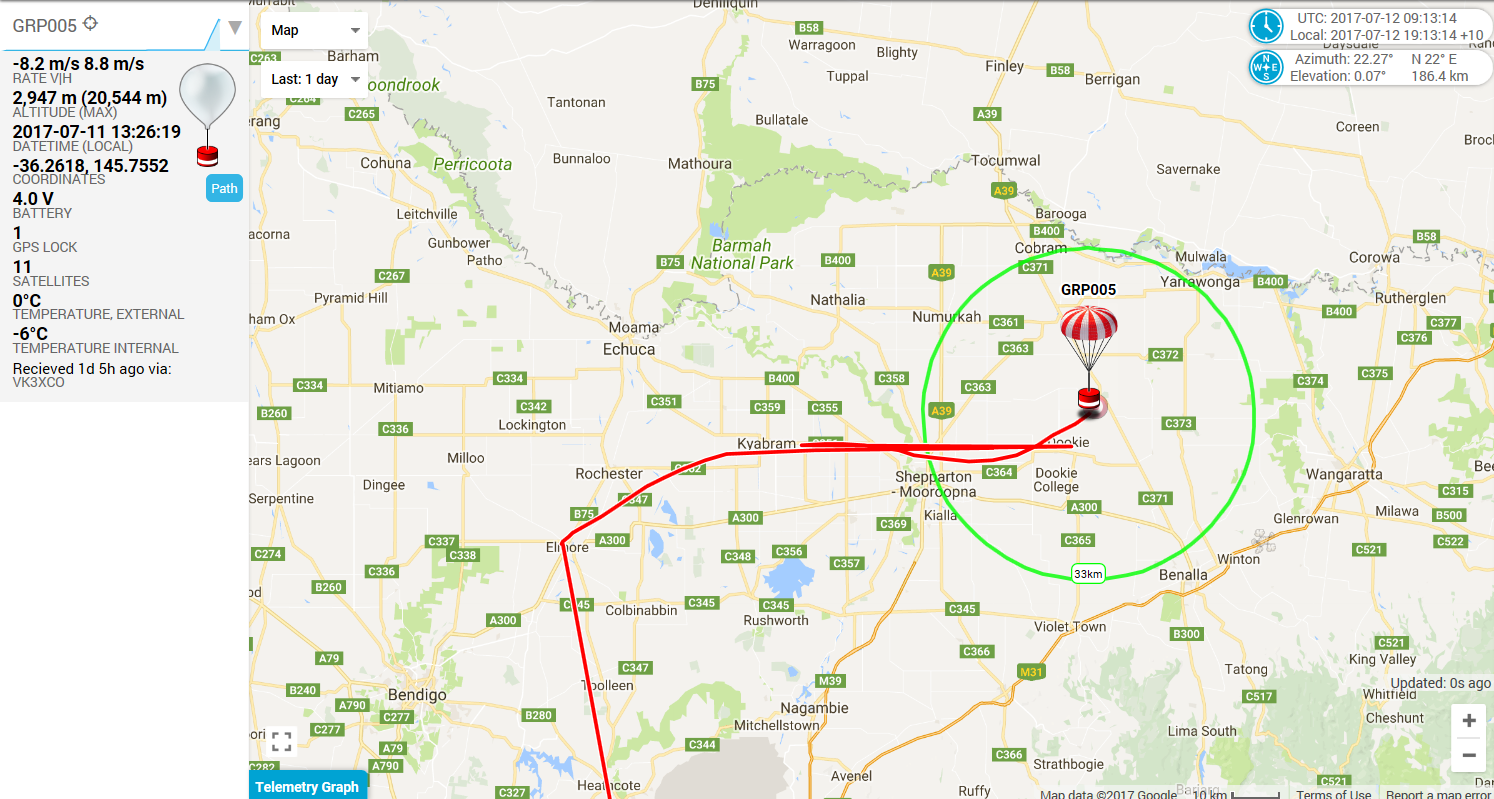
Good Luck with the tracking and we hope to see your pictures being uploaded to http://ssdv.habhub.org/
Current Payload Frequency being used is 434.650Mhz